Projects and fun!
Well it has been a while since I’ve last written and I do apologize. It has been a crazy, busy, jam packed couple of weeks! We have been trying to finish particular projects around the house and spending time with family.
While our house is only about 3 years old, we finally decided to re-paint the first floor (for the 2nd time). This time we made the decision to go neutral throughout the entire first floor. Not different neutral colors in each room, but the same neutral color everywhere on the first floor. Why you ask? Because our first floor is such an open concept that we needed a color that was versatile to whatever we wanted to have for decor. With that in mind, I knew I was thinking of a great color (since I saw it all over Pinterest). But my husband thought we should see what else was out there. So we searched a bit and then we decided that what I was thinking would probably be the best option. So, onward we went to buy the paint and get started! It took us about 5 – 6 days to paint the entire first floor. That’s including priming the kitchen since we had painted it red, prior to this project. It was a long project but we were excited when we finally got it done! It was such a relief. I will not include photos of this, as the new color in a photo does not do it justice. The photo (due to lighting), makes the coloring look so different.
The next, little project, was to mount the television on the wall. This didn’t take much but instead of me helping when needed, our neighbor helped out. That was great! I didn’t have to do any heavy lifting…hehe. But that was done in a jiffy.
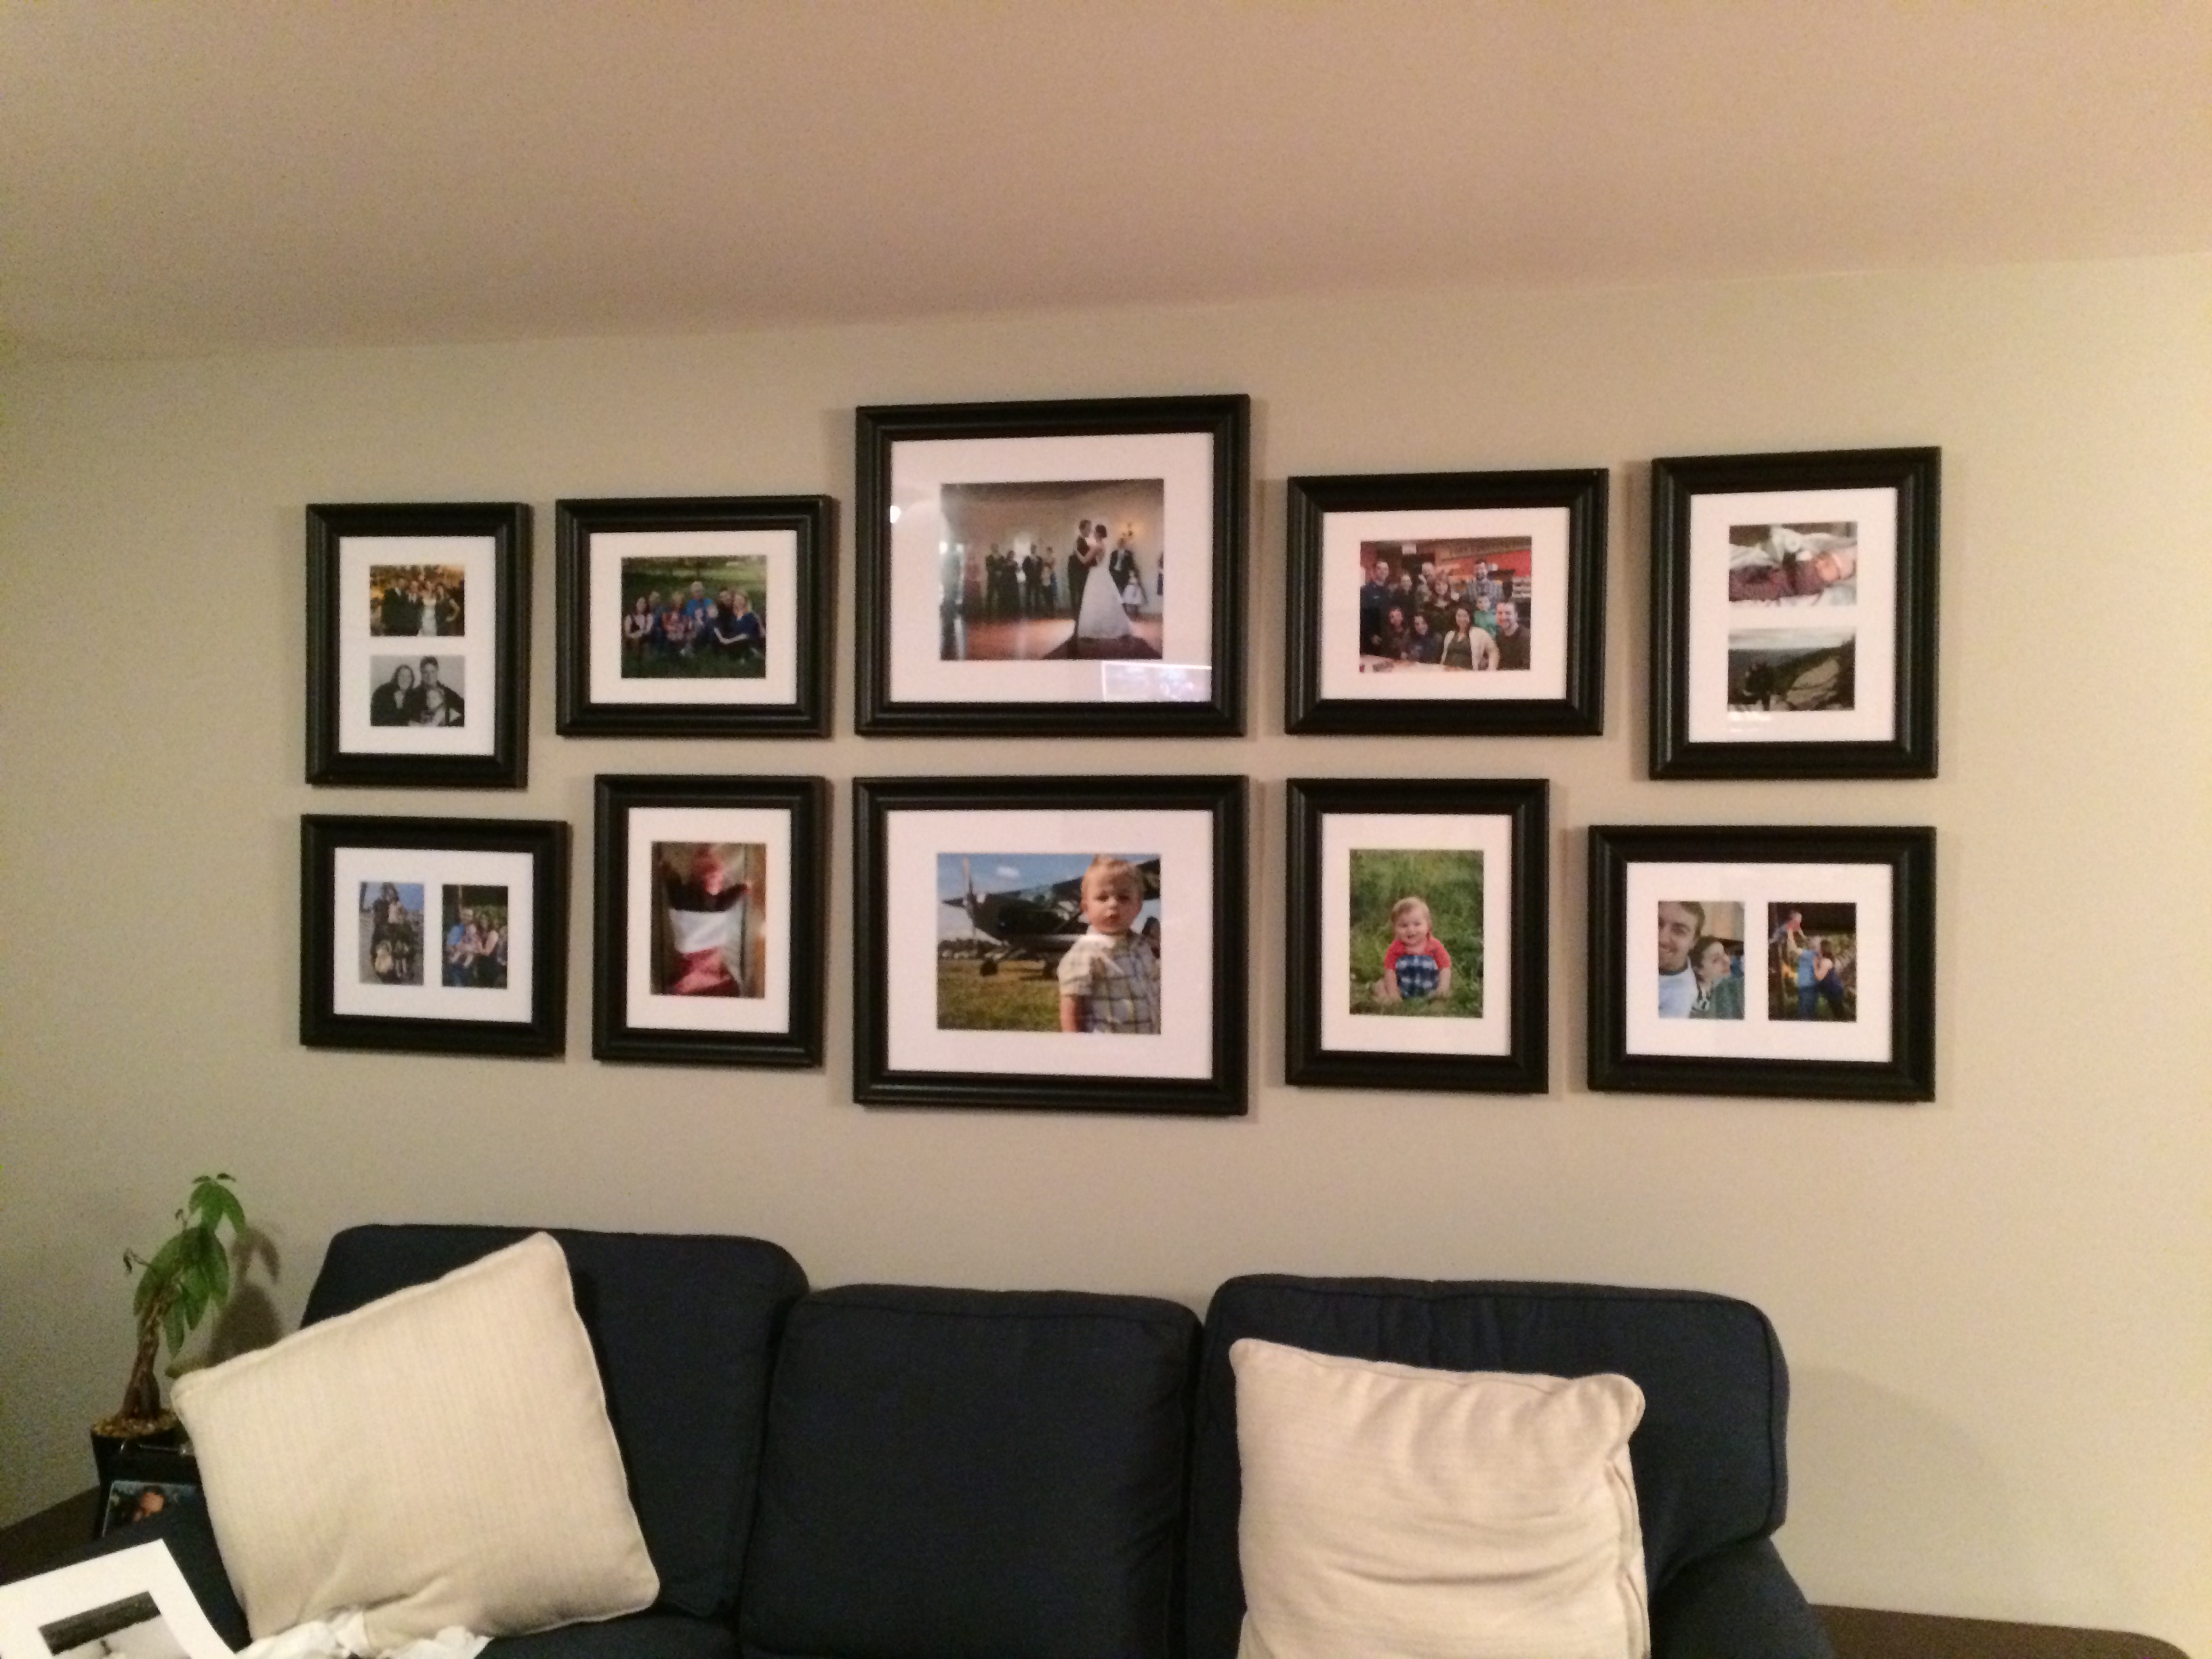
The third project was a photo wall, which I have wanted to do since we moved into the house 3 years ago. We spent a lot of time going through photos to figure out which ones we really wanted printed out. And although there were plenty more that I could have chosen from, the ones we chose were fantastic! Behind our couch is a photo wall of family photos. There are even a couple with friends (whom we consider family), included as we consider them family. I won’t get a close up photo of this, but here is one for a visual effect.
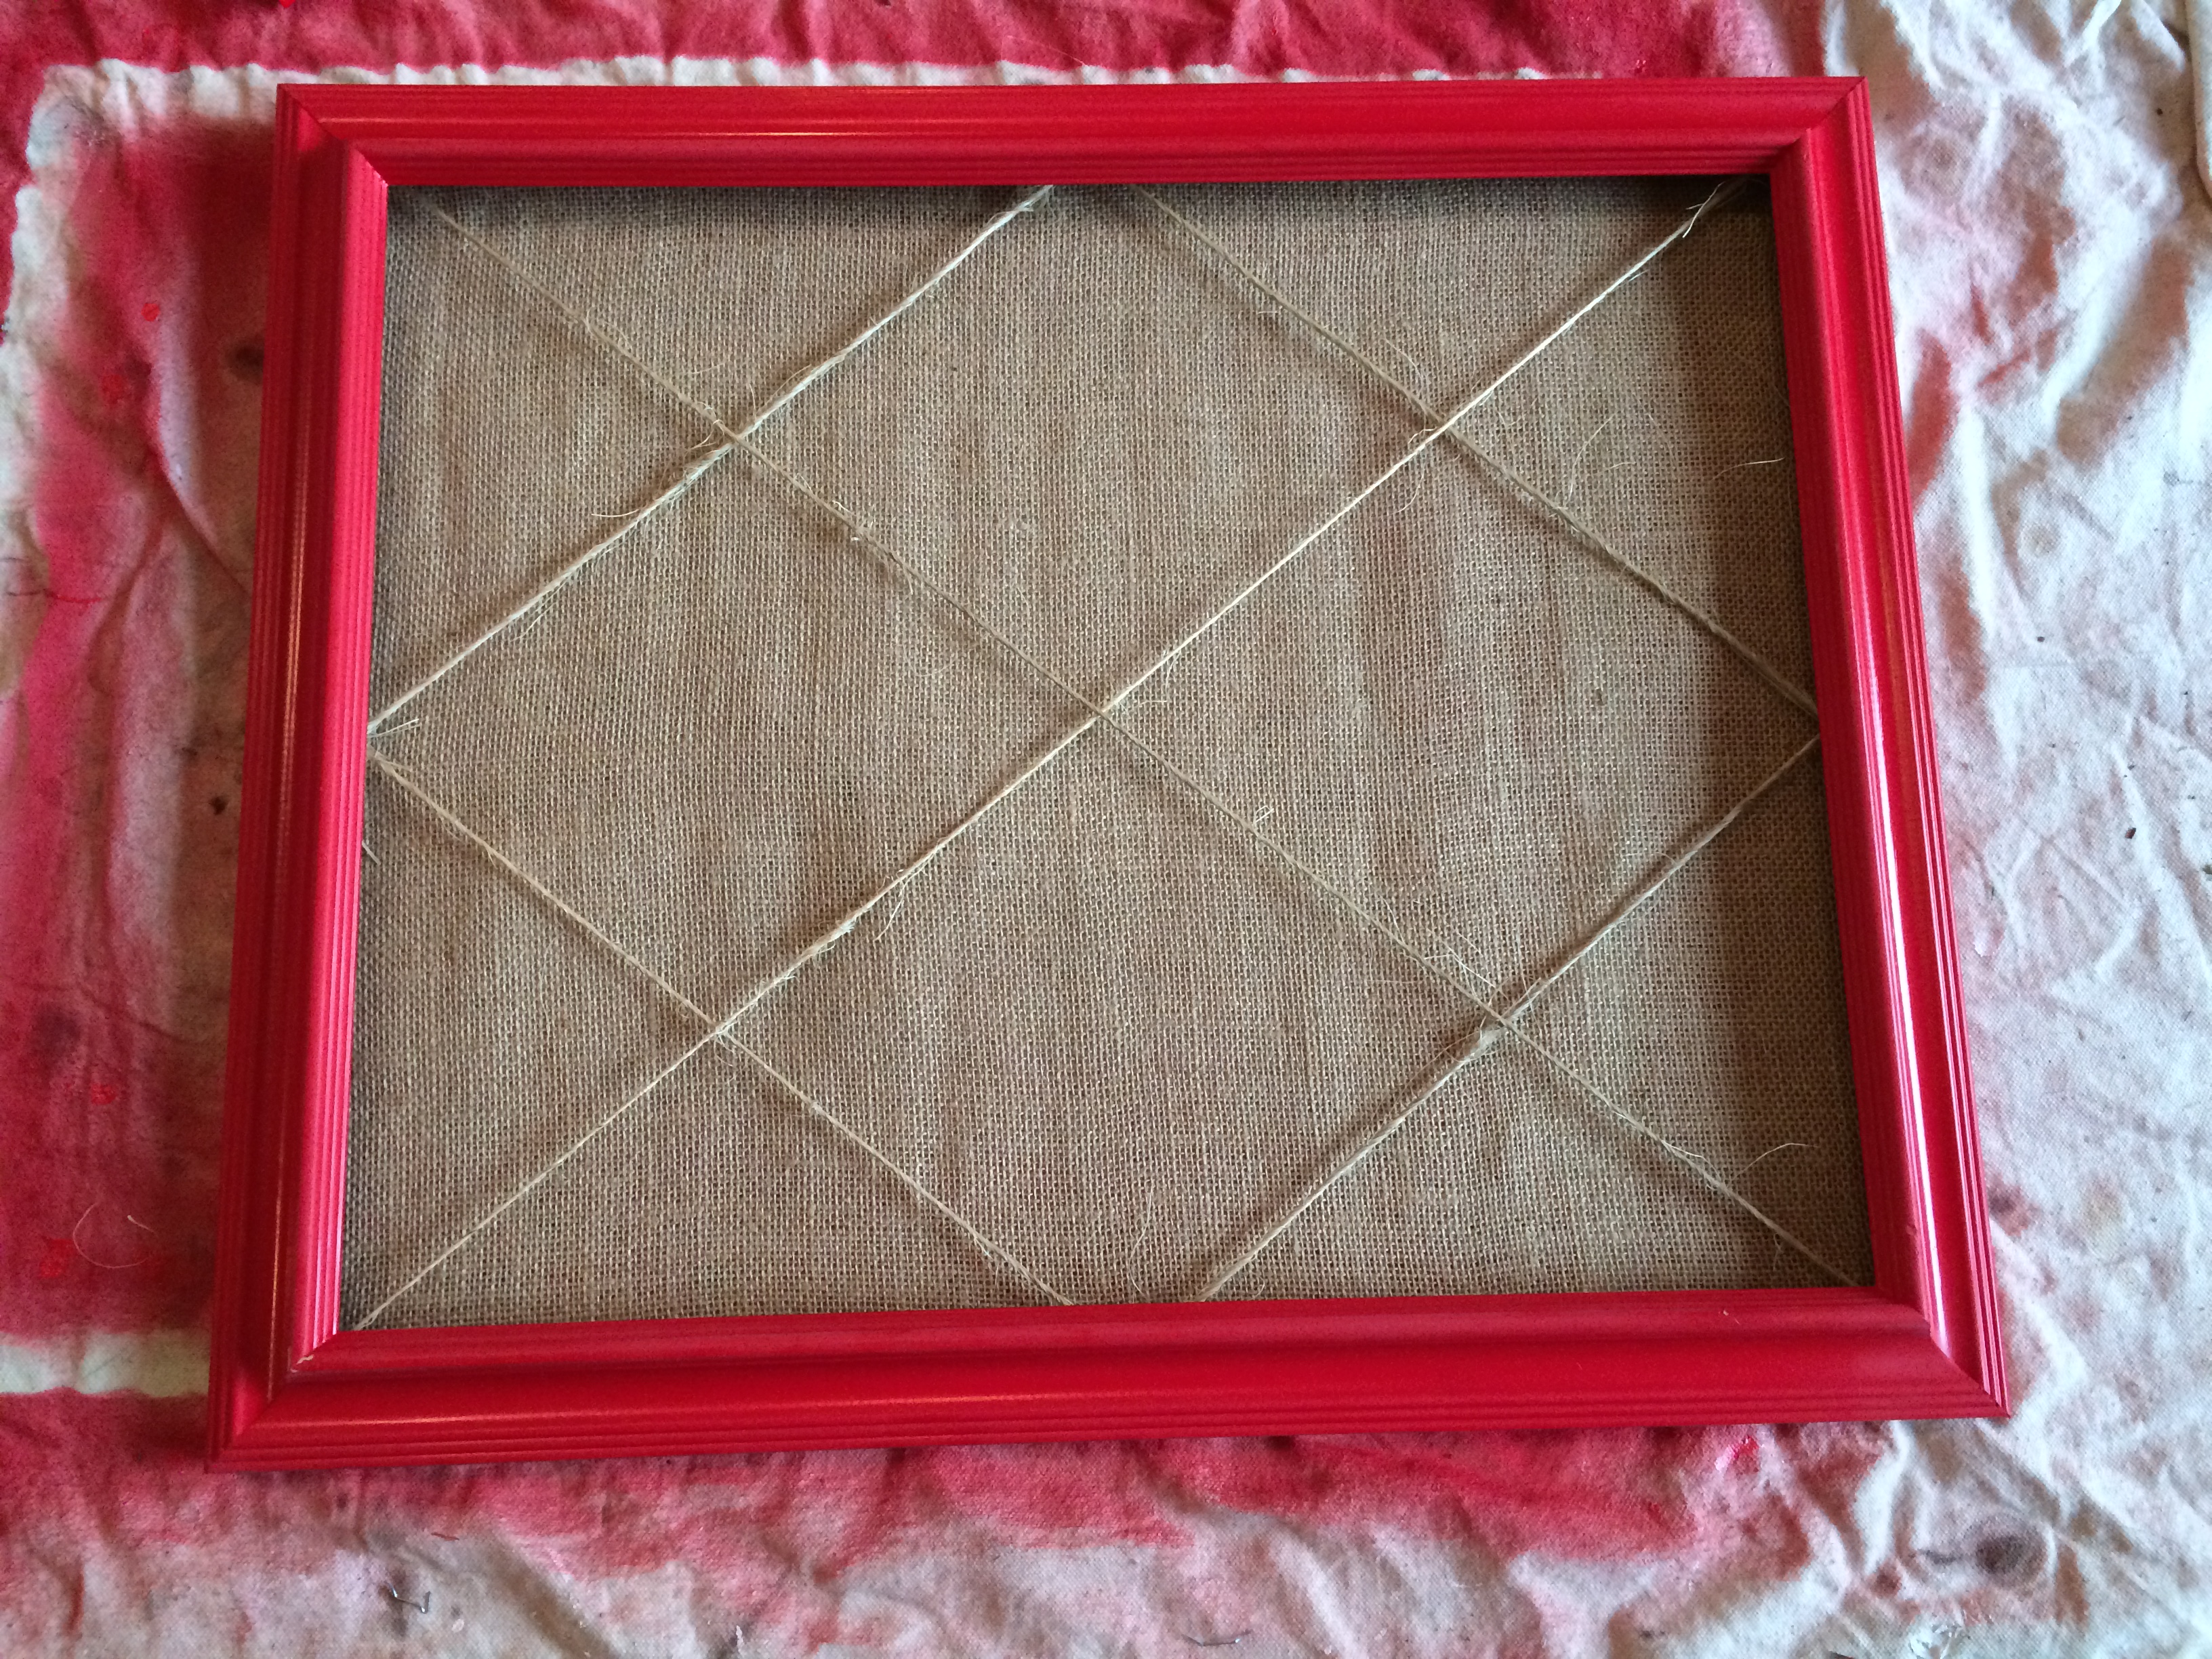
The final touches came in the play room. We had bought four unfinished, wooden frames from Michael’s, along with spray paint and burlap.
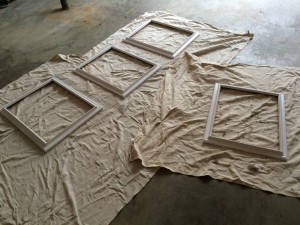
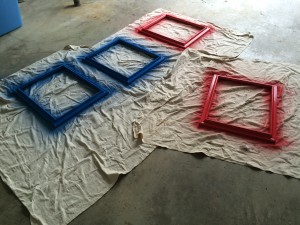
I spray painted the wooden frames.
Once dry, we stapled some twine, that we had on hand, to the back in a criss cross fashion. Then stapled burlap to the back of the frame.
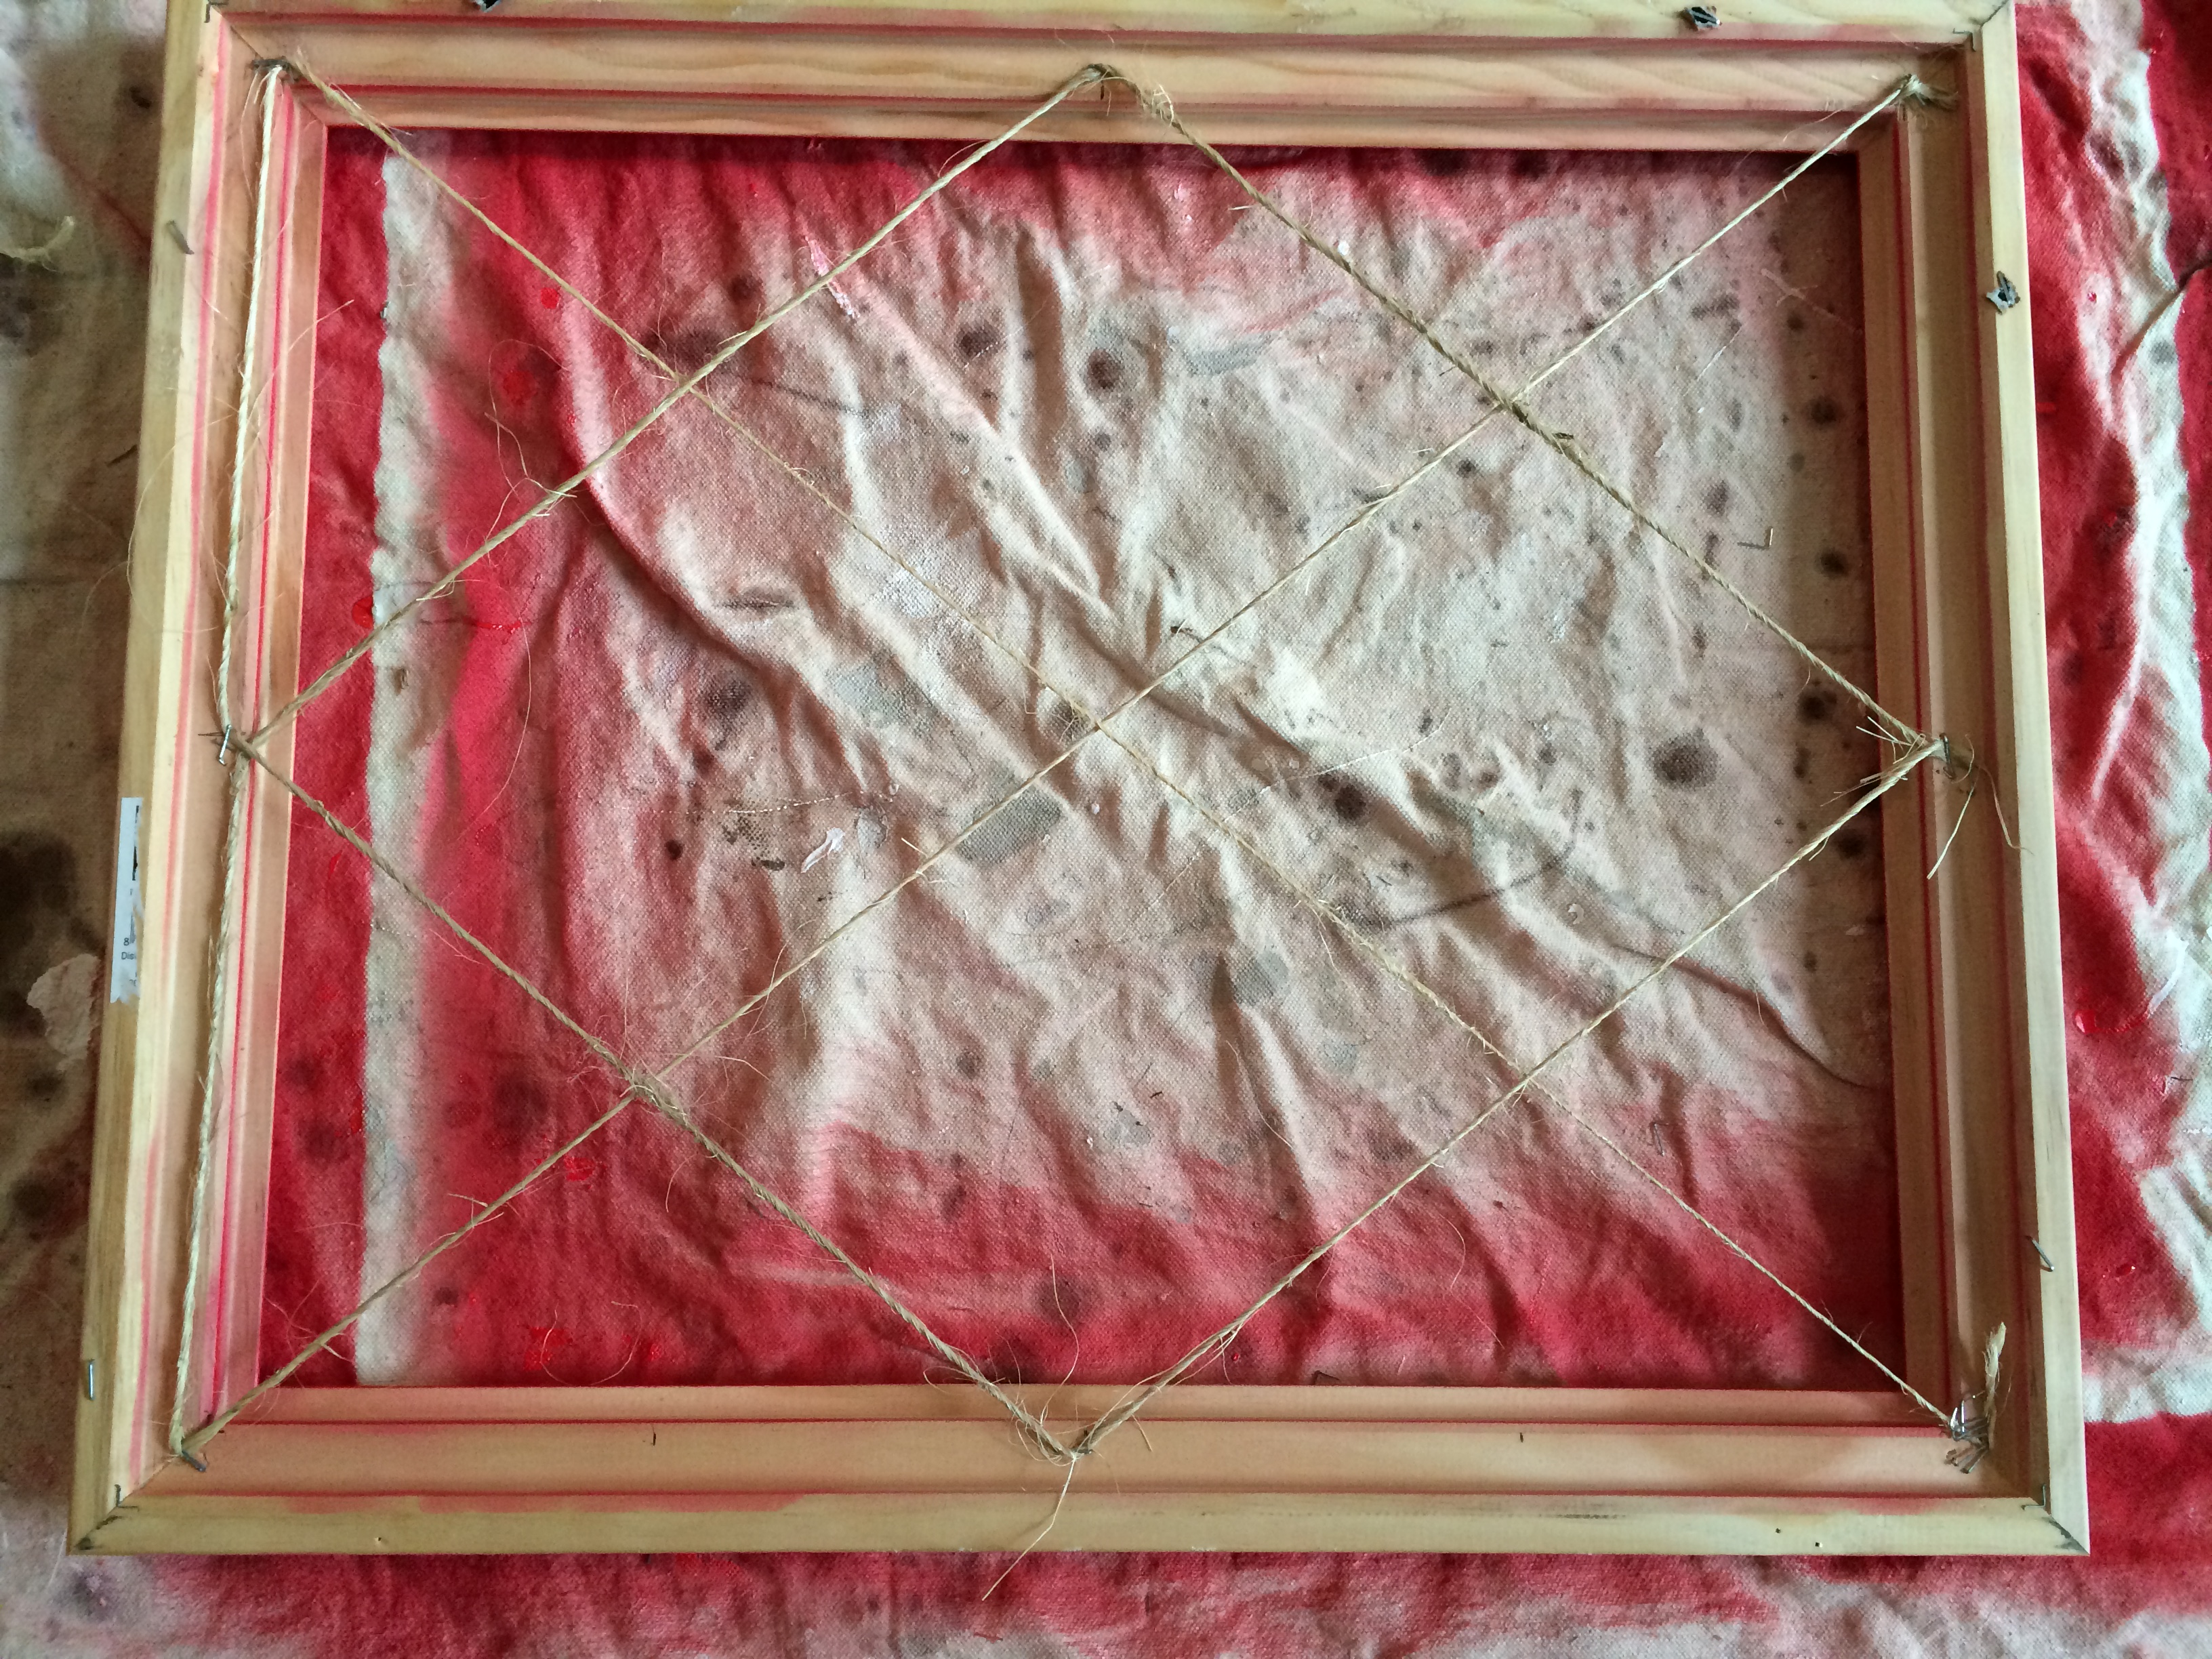
Once completed, we hung the frames in our son’s playroom. We then hung some of his artwork with clothes pin on the twine. Of course I got the idea from looking at things on Pinterest (where else would I get some of these craft ideas!).
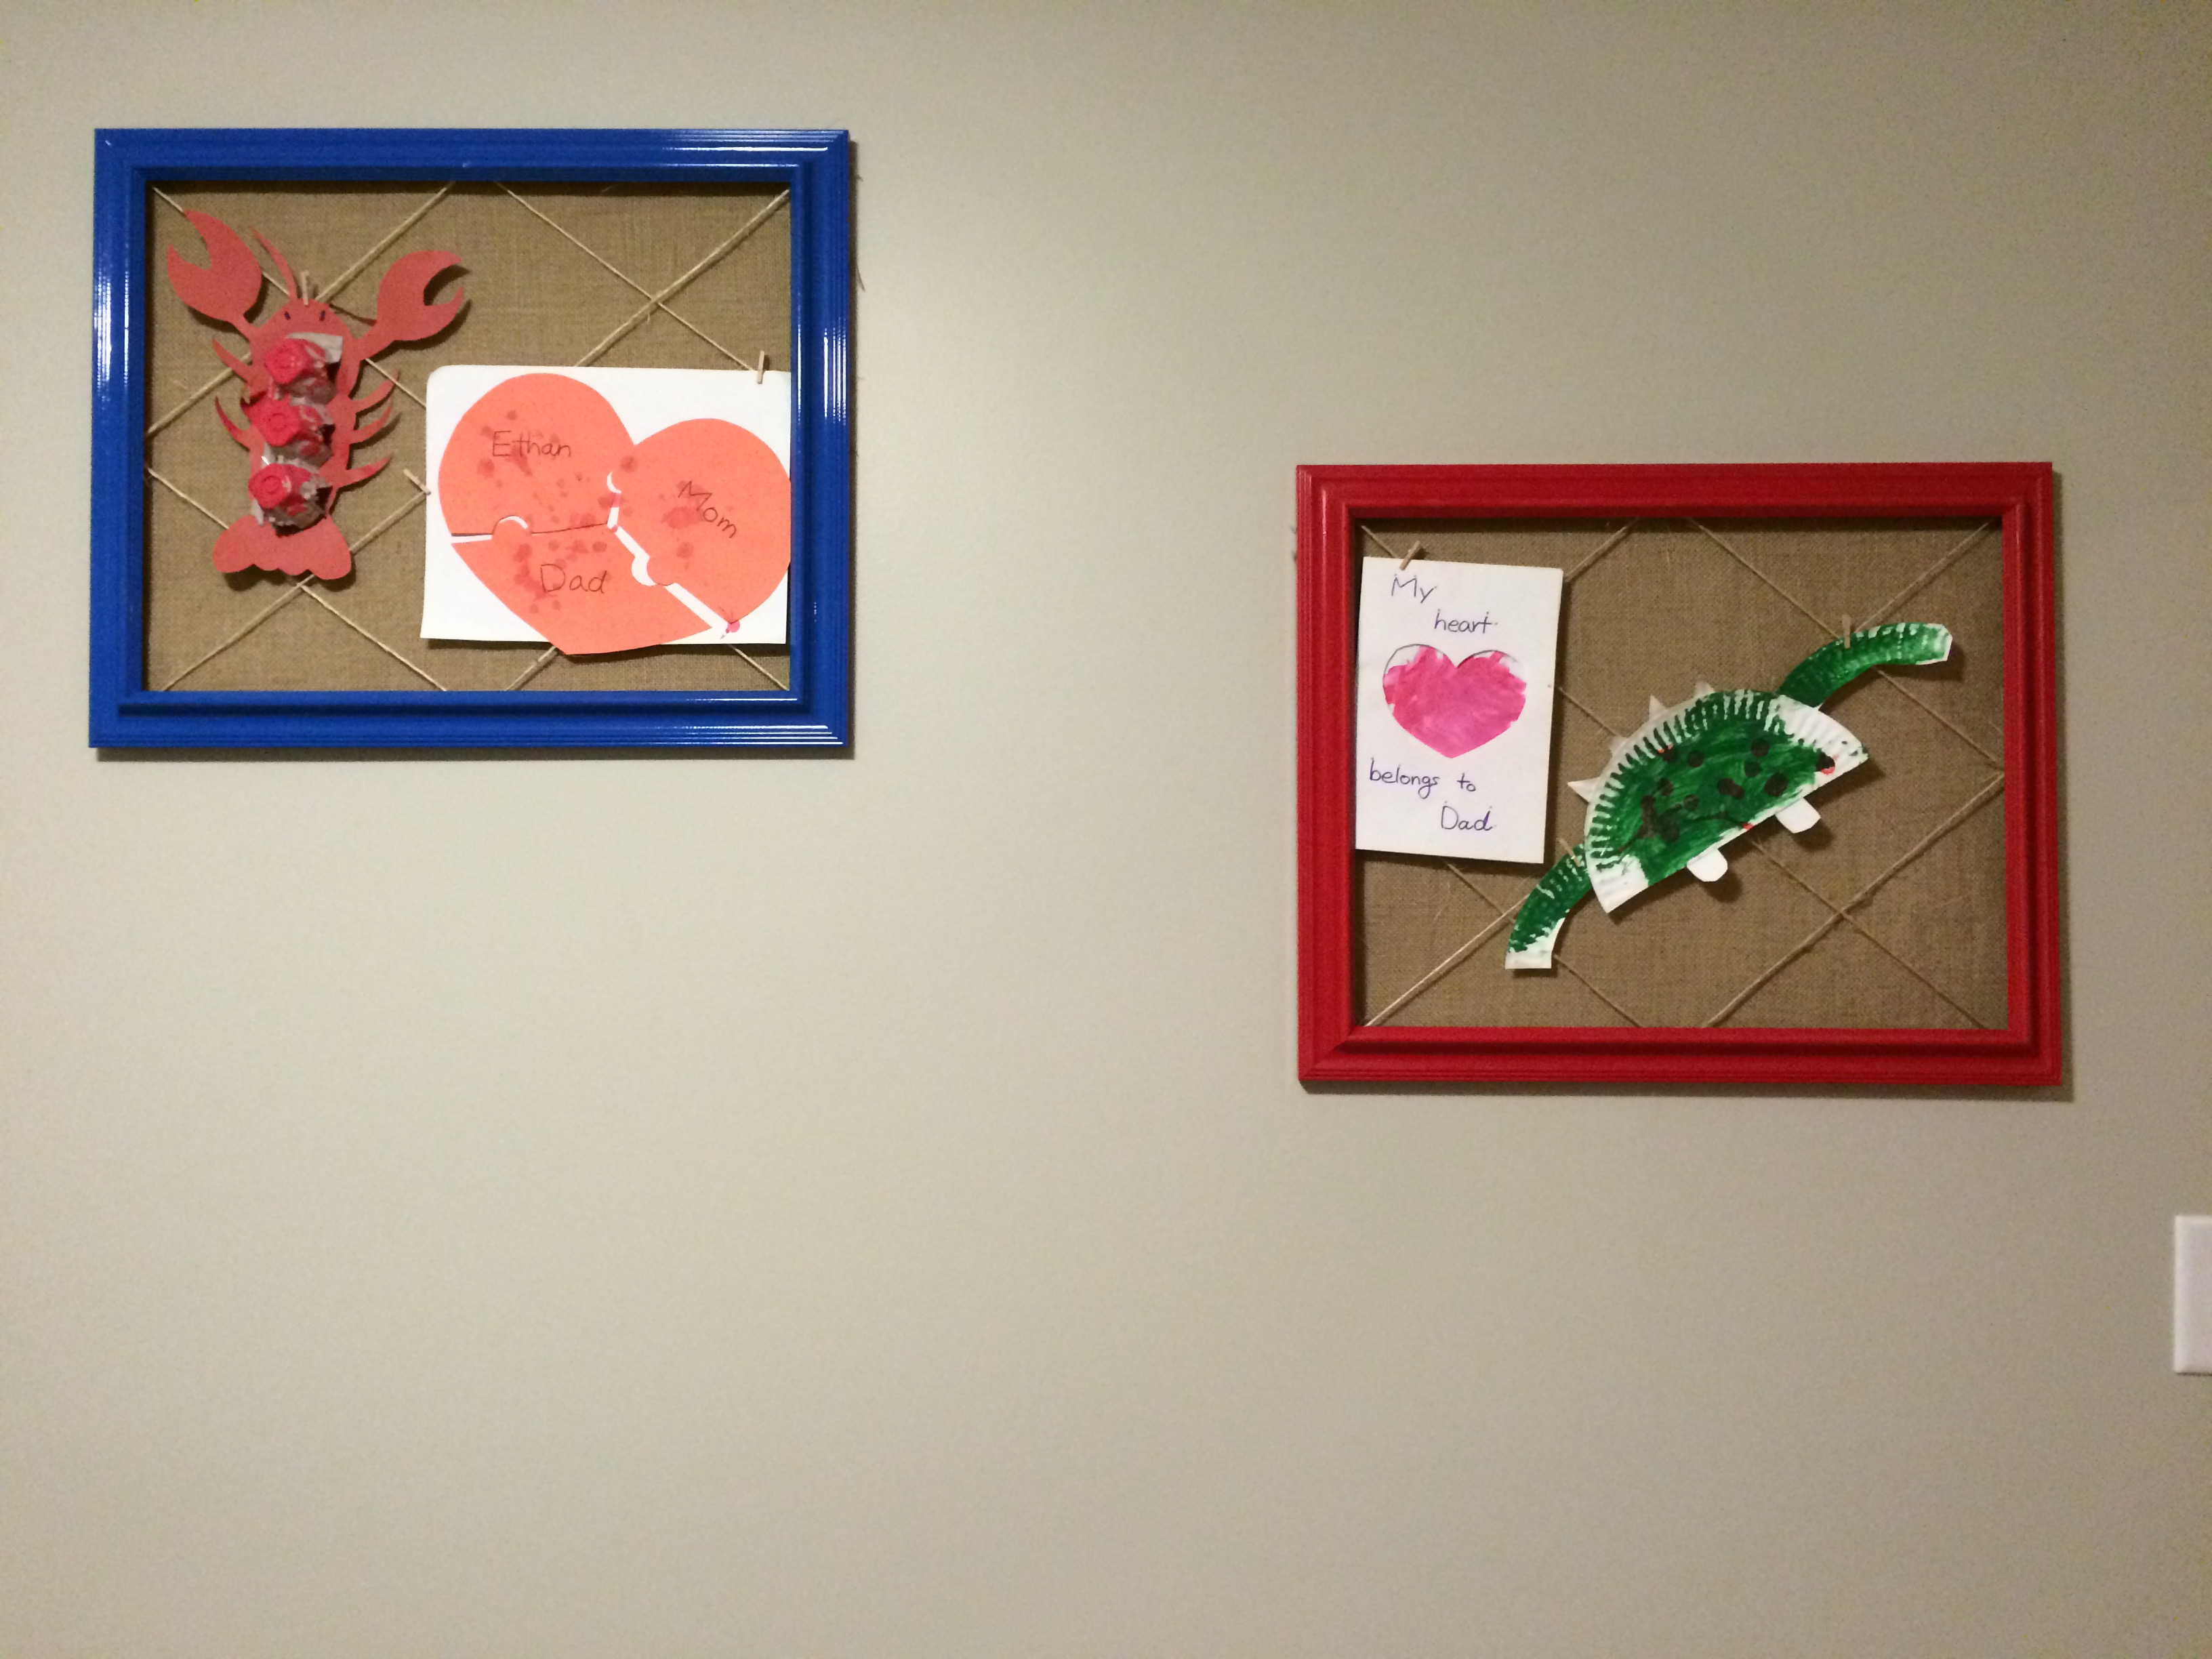
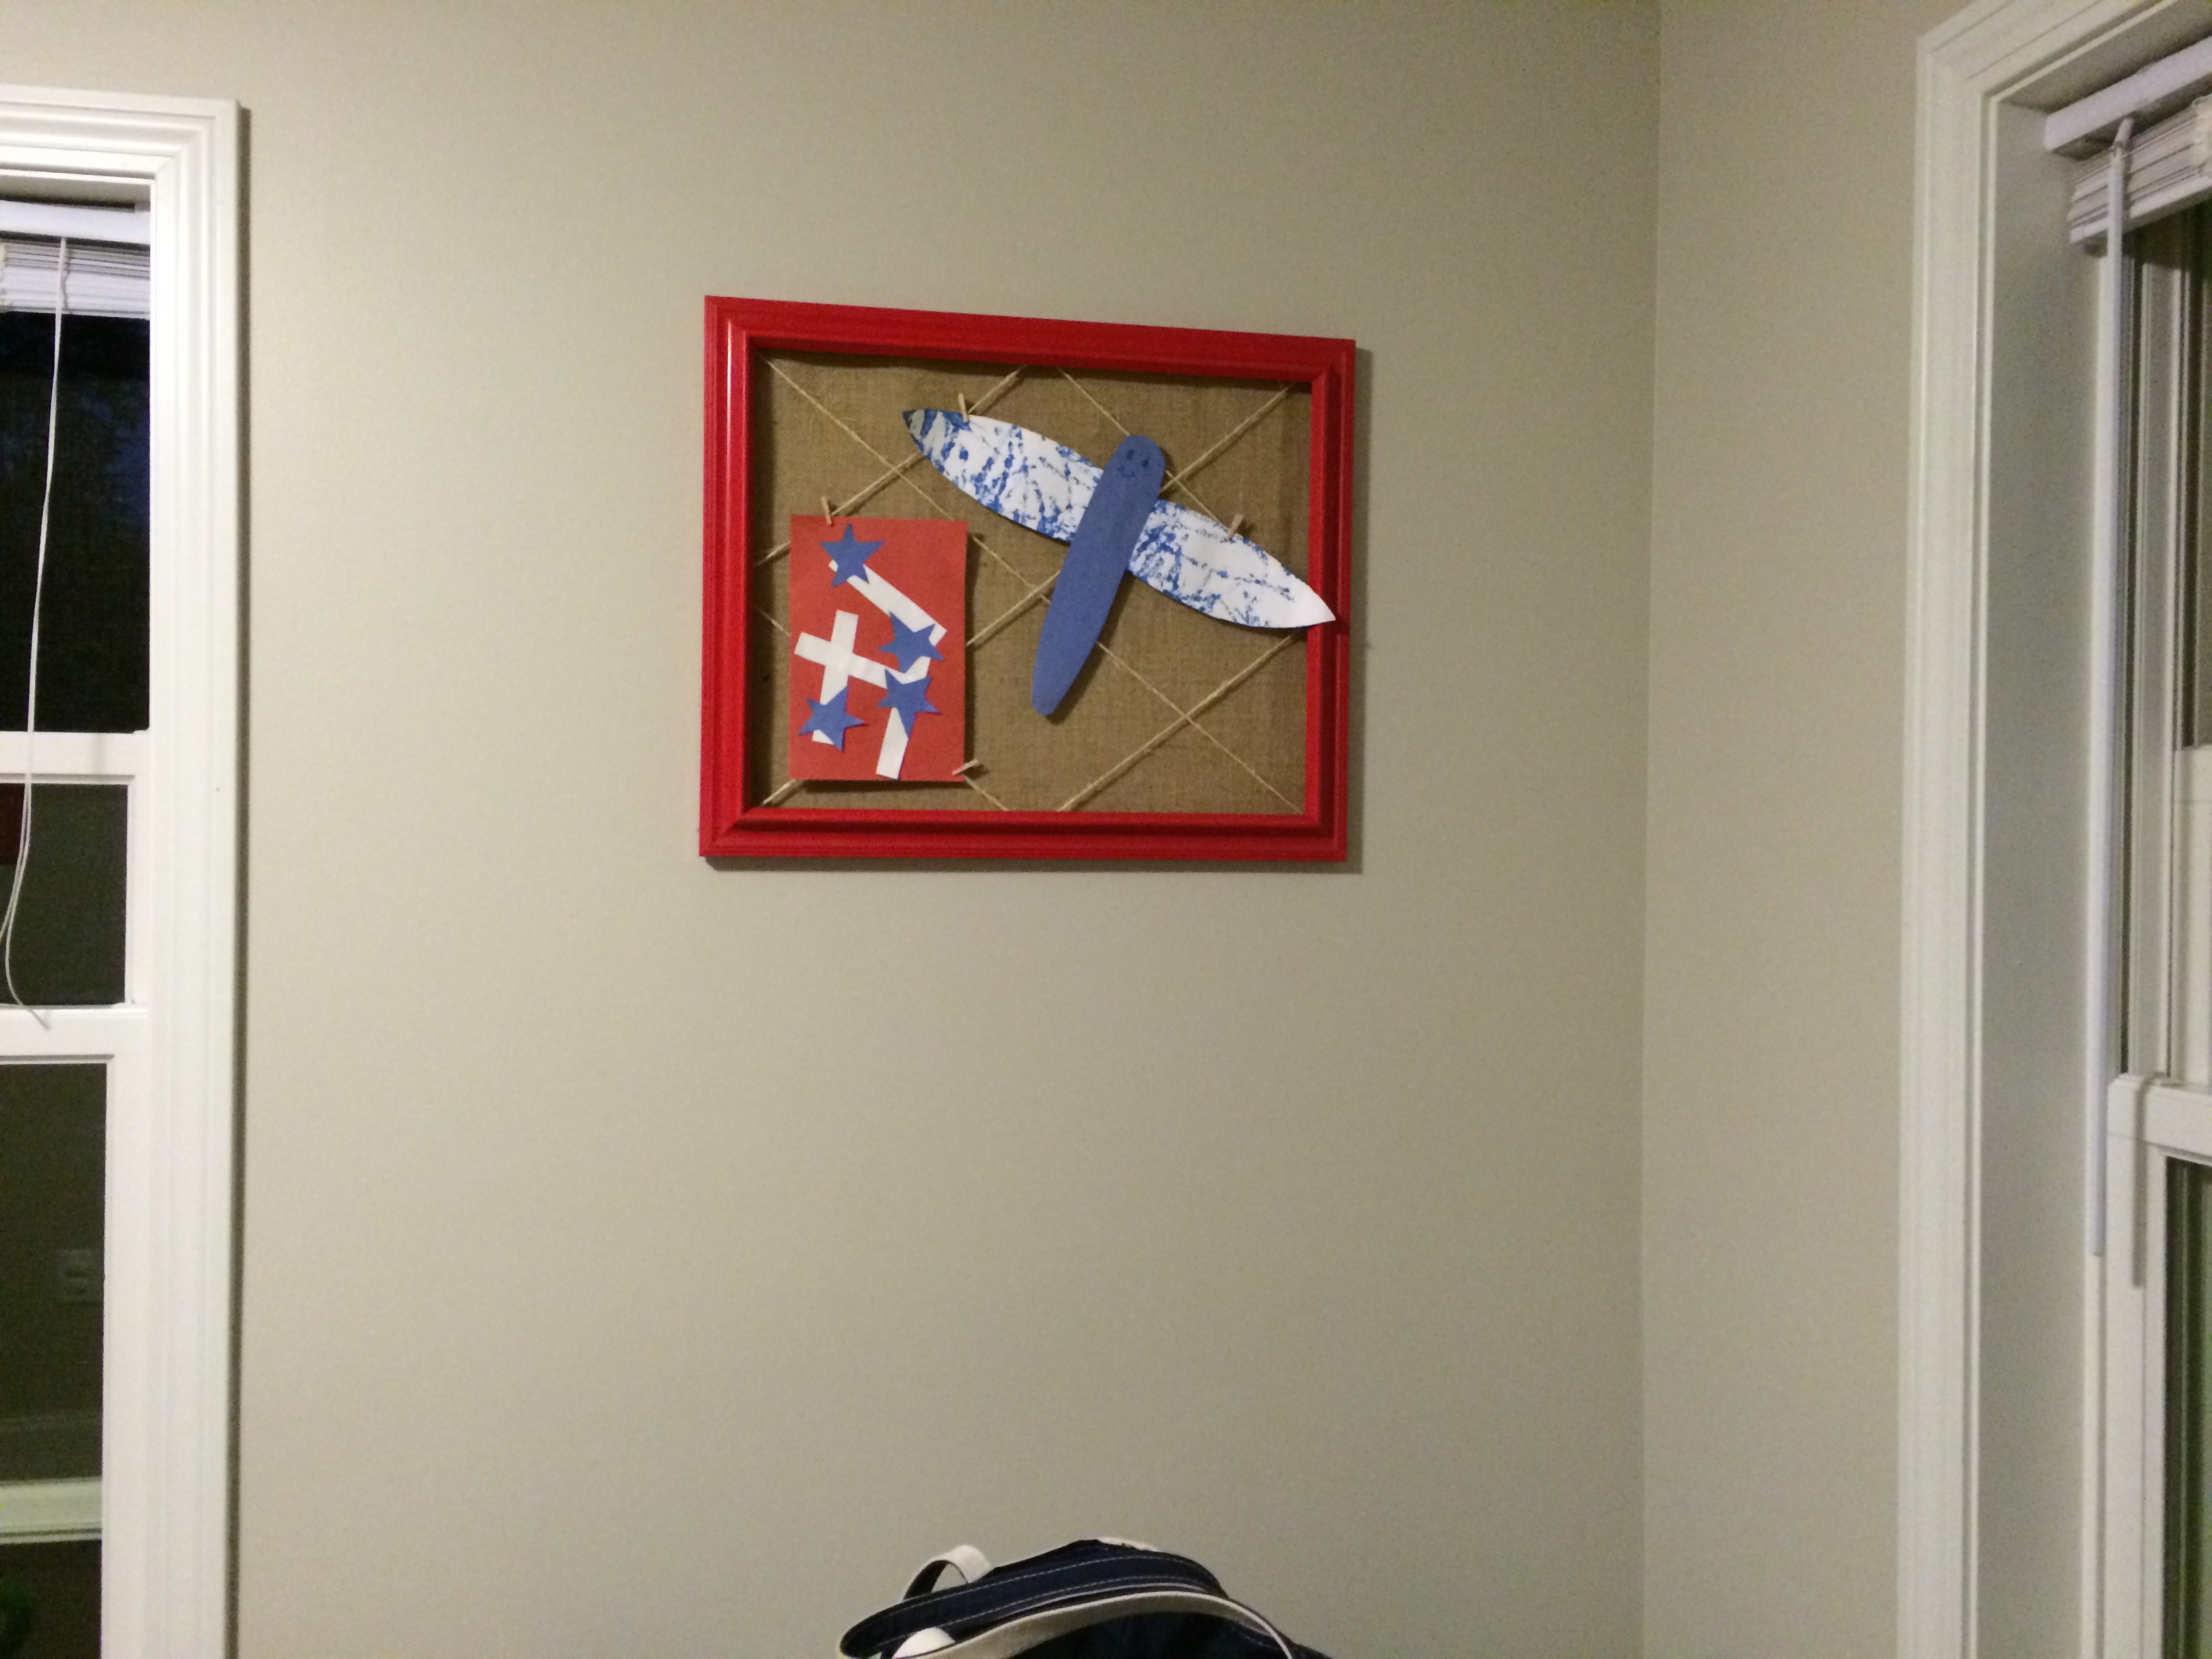
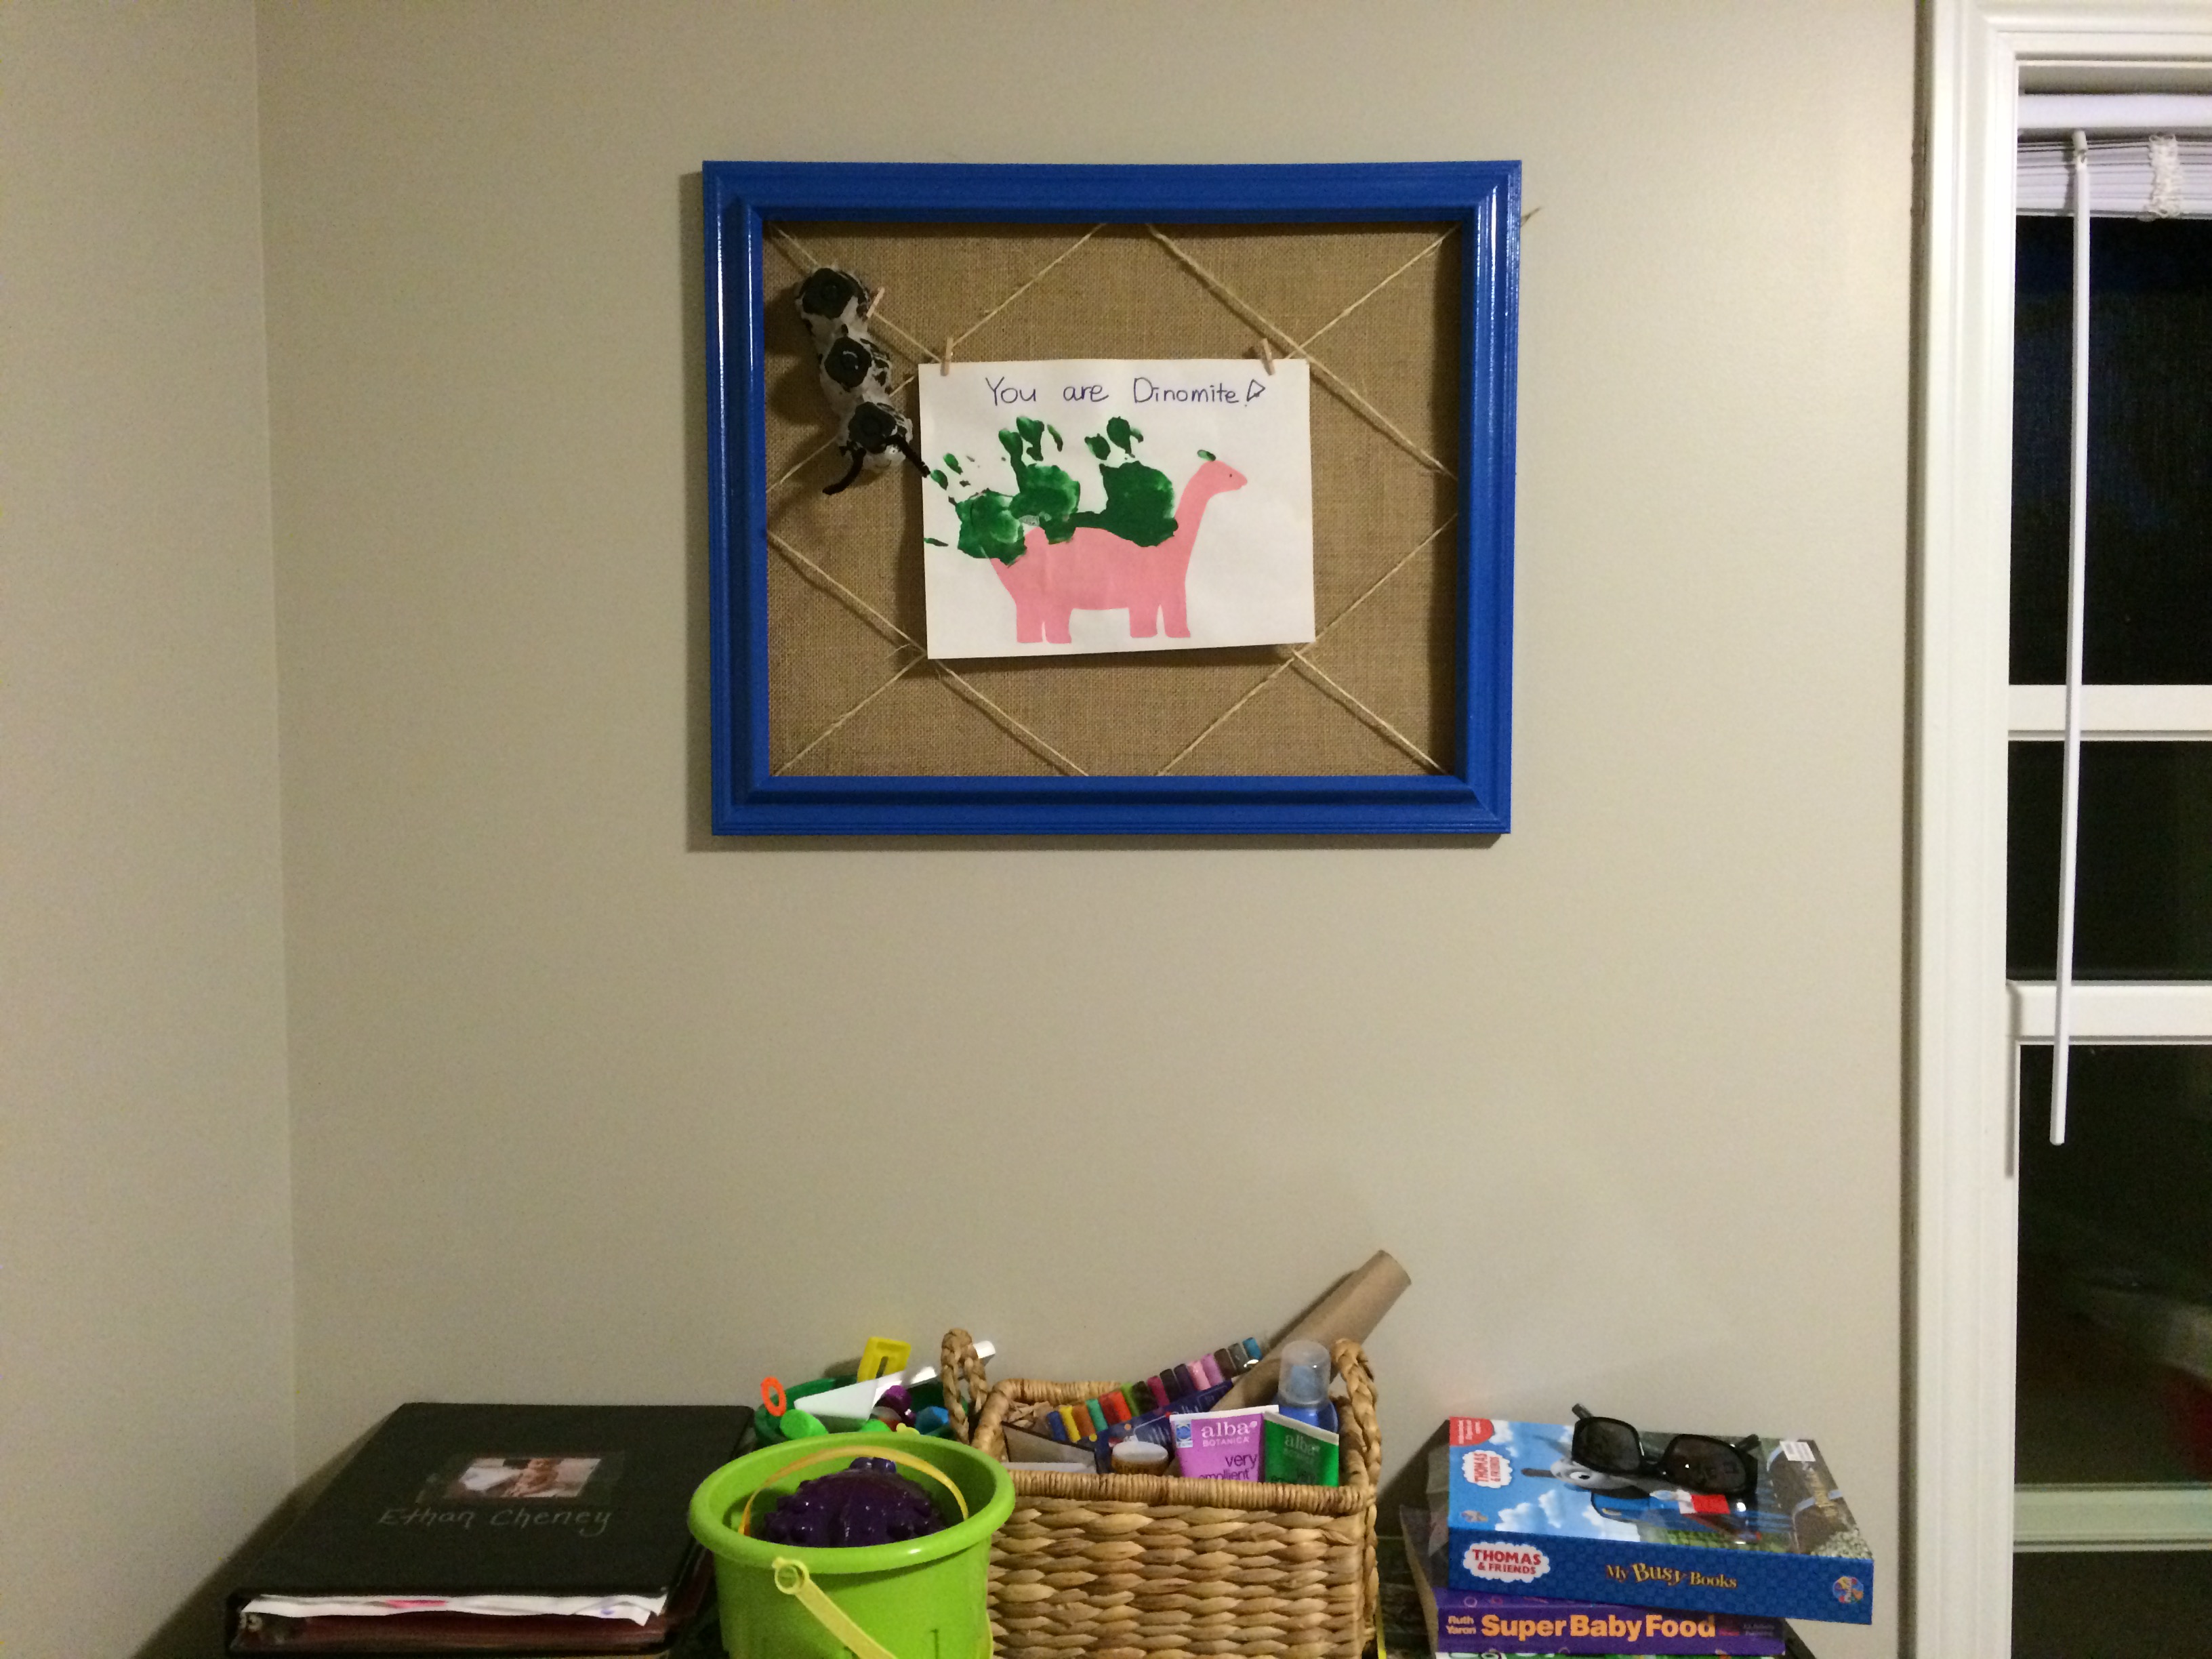
We are so happy with the finished product. The photo wall in our living room came out amazing. And I absolutely love the frames that hang our son’s artwork in his playroom. It gives us time to share what he creates.
There are a few more things I (we) would like to do as far as decor for the first floor of the house but this is a fantastic start! We could not be happier with the progress we made in July. It just makes the house feel a bit more complete and like a home.